LiveFlow raises $13.5 million Series A led by New York-based Valar Ventures and launches LiveFlow Next to revolutionize finance!
Read More

Export Invoices from QuickBooks (Complete Guide)

July 28, 2024

If you are an accountant or bookkeeper, you may use QuickBooks as part of your work software to keep track of your clients and their expenses. The program makes it easy to import new customers, vendors, and invoices on a regular basis.

However, if you need to access those records at another time, such as when filling out tax forms for that client or for your own business, then you will need to export the data from QuickBooks instead.

In this article, we’ll go over everything you need to know and explain how to export invoices from QuickBooks to Excel.

Can you export invoices from QuickBooks?

Yes, you can export invoices from QuickBooks. You can export data from the entire company file, a single company file, or a list of selected customers and vendors. You can also export a list of selected transactions from your transaction list.

The only thing to keep in mind is that you cannot export financial information from your QuickBooks company file. You can, however, export non-financial information, such as customer records, vendors, and their respective invoices. You could also export a list of selected transactions from your QuickBooks transaction list.

How to export a list of invoices in QuickBooks Online?

There are a few different ways to export a list of invoices from QuickBooks online into other applications including Google Sheets and Microsoft Excel. The exact method you will use depends on which file format you want to export.

The most common file formats are Excel files, CSV files, and PDF files. That said, the process is more or less the same, the only difference is that you will select a different file type when exporting the invoices. Let’s go over the process now, so that you’ll be able to export invoices from QuickBooks whenever you need to.  

How to export an invoice template from QuickBooks to Excel

In order to export an invoice template from QuickBooks to Excel, you first need to create an invoice template in QuickBooks. This process is fairly quick and easy and once you’ve done it a couple of times it should only take you a couple of minutes to complete the task.

To create and export an invoice template in QuickBooks follow these steps:

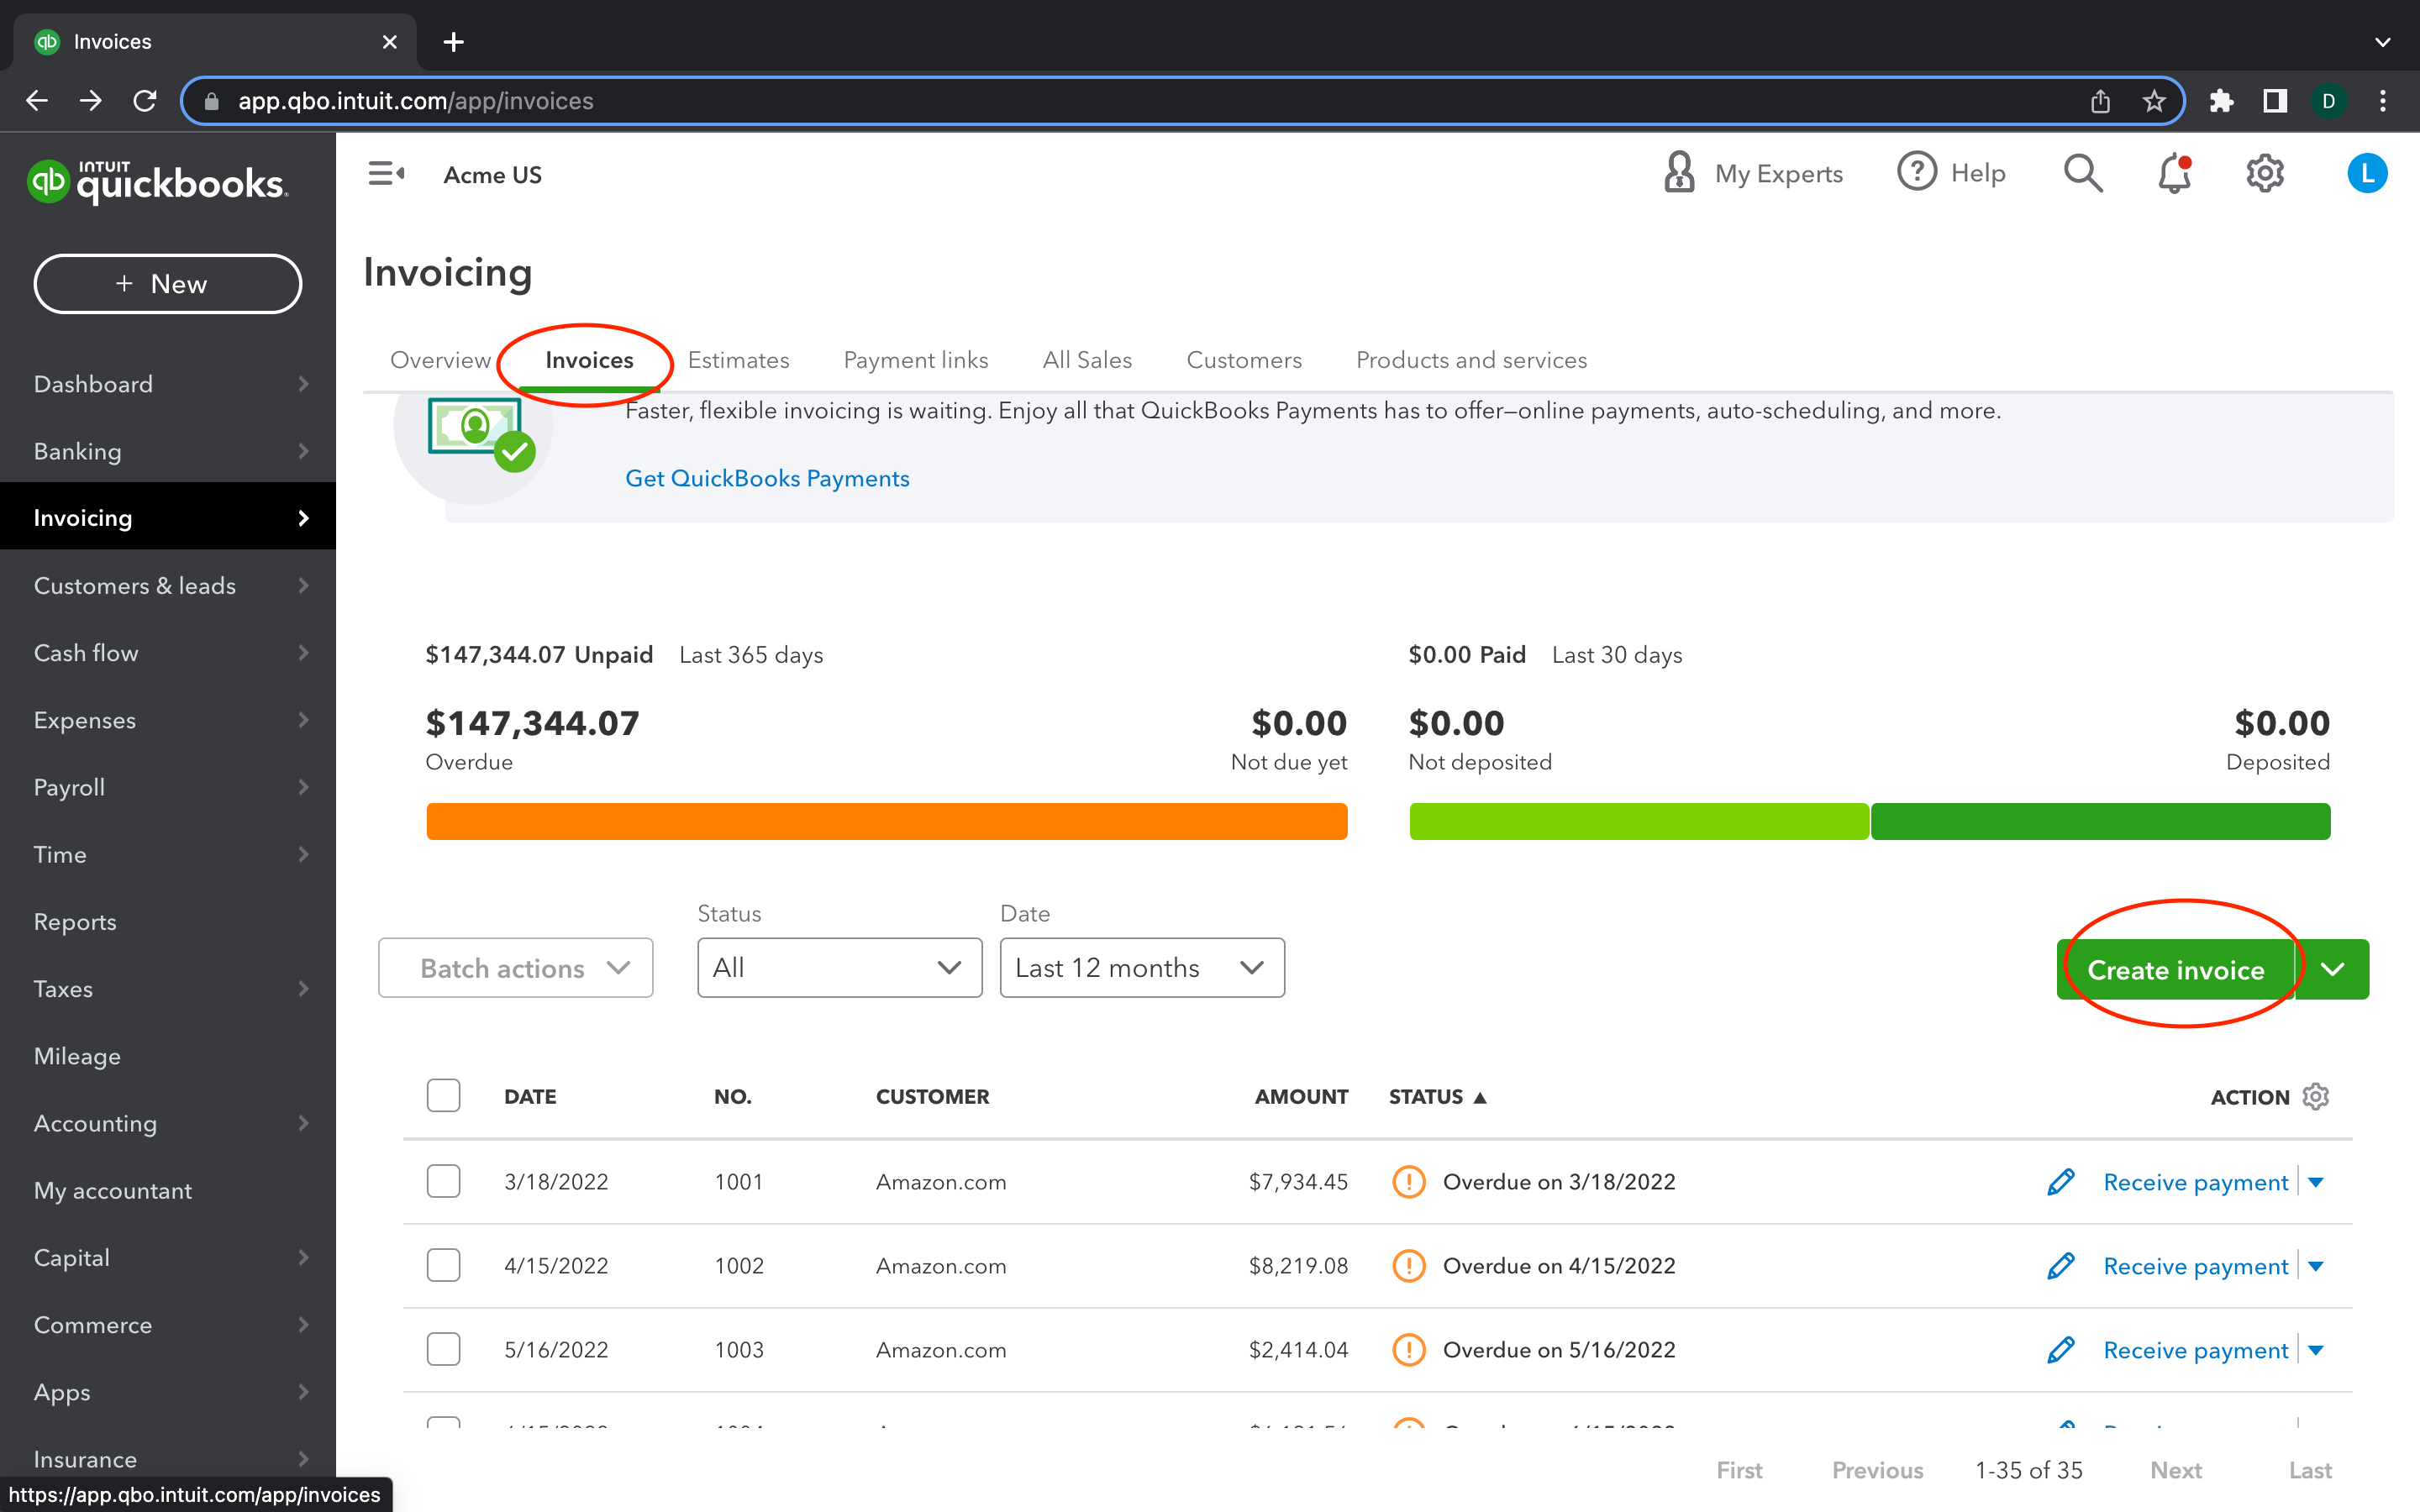
1. Open your QuickBooks company file and select the “Customers” tab.

2. Click the “New Customer” button on the upper-right side of your screen.

3. Fill out the necessary information for your new customer record.

4. Select the “Create an invoice” drop-down menu.

5. Select “Use a template

6. Select the “Save as a template” option.

7. Give your template a name and select “OK” to save the template and exit out of your invoice.

8. Now, to export the invoice template from QuickBooks to Excel, select the “Customers” tab, then click on the “Export” button located on the upper-right side of your screen.

9. Select the “Excel” option to export your invoice templates to Excel.

10. Select the “CSV” option to export your invoice templates as a CSV.

11. Click “Next” to proceed with exporting your data.

12. Select the “Customers” option from the drop-down menu.

13. Select the desired date range to export your data.

14. Click “Finish” when you are ready to export your data.

How to export an invoice from QuickBooks to PDF?

Sometimes you may want to export your data as a PDF file instead. This is a good option when you don’t need to edit the data again, and you only want to view customer invoices at a glance. Fortunately, the process for exporting invoices from QuickBooks to PDF is a bit easier.

To export an invoice from QuickBooks to PDF, follow these steps:

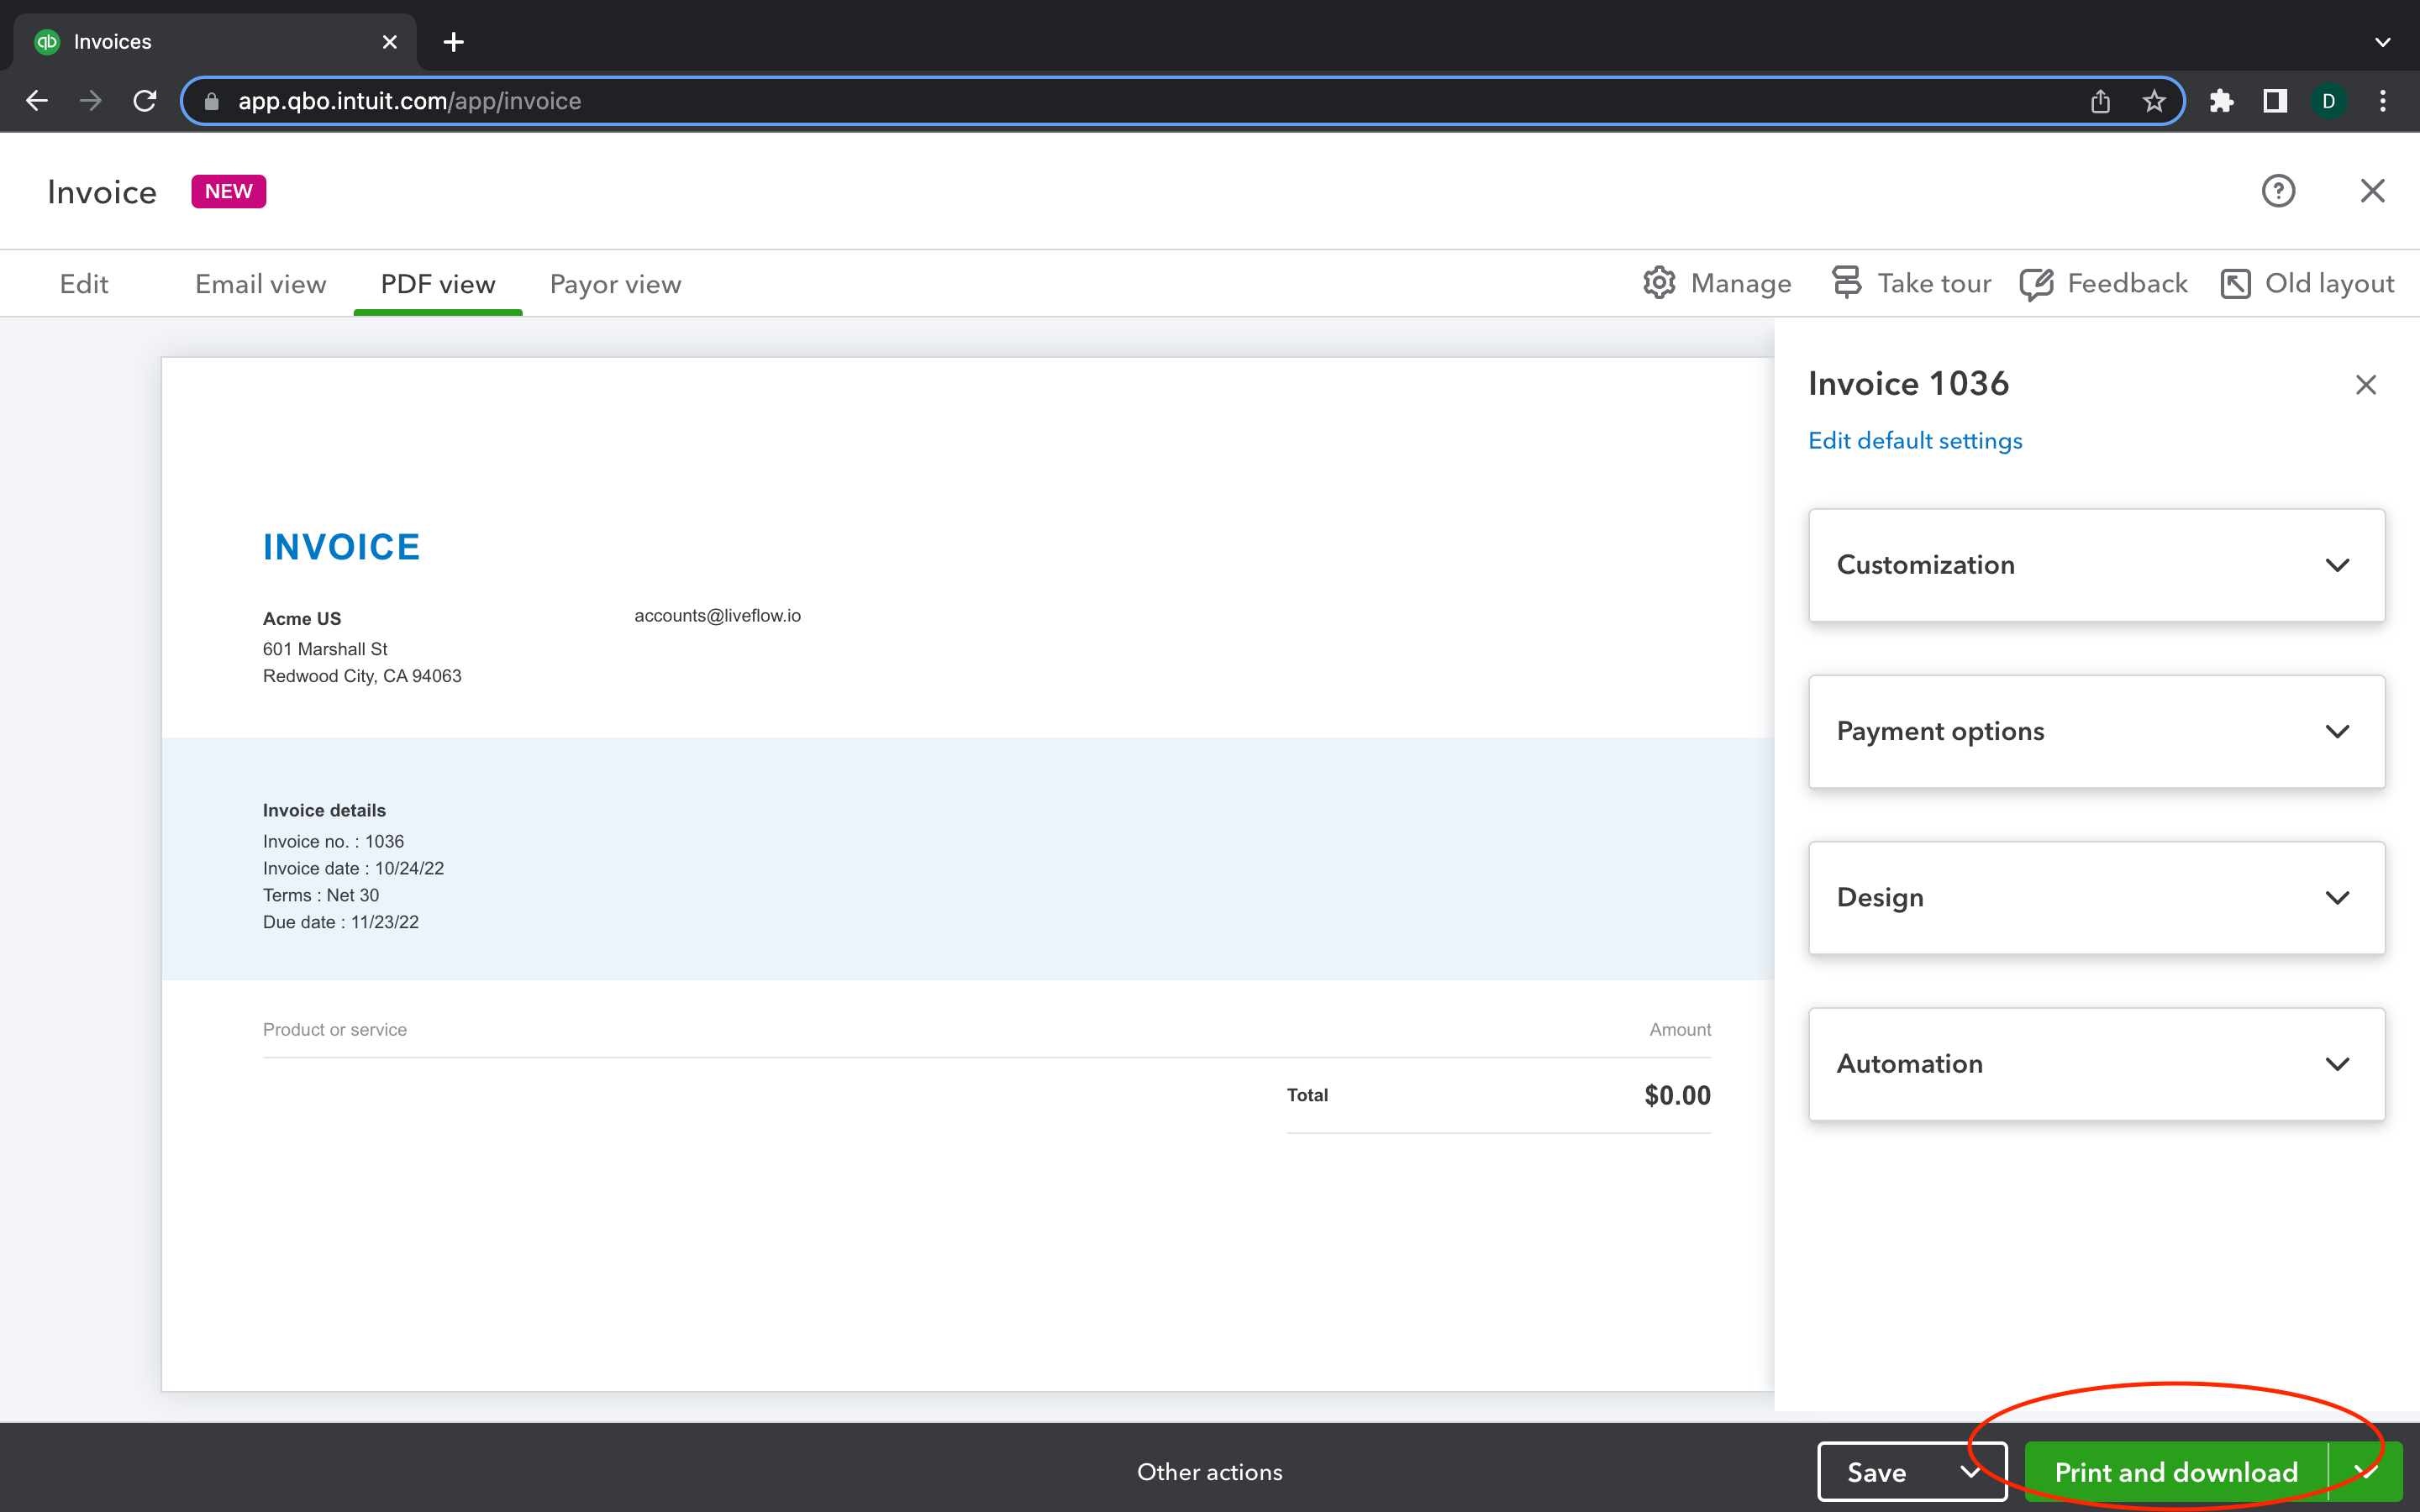
1. Open your QuickBooks company file and select the “Invoices” tab.

2. Select the “Export” button on the upper-right side of your screen.

3. Select the “PDF” option to export your invoices to PDF.

4. Click “Next” to proceed with exporting your records.

5. Select the “Invoices” option from the drop-down menu.

6. Select the “Customers” option from the drop-down menu.

7. Select the “Export” option from the drop-down menu.

8. Select the desired date range to export your records.

9. Click “Finish” when you are ready to export your records.
Export Invoices from QuickBooks

Export Invoices from QuickBooks

Export Invoices from QuickBooks (Complete Guide)

How to export QuickBooks invoice to CSV?

The process to export a QuickBooks invoice as a CSV file is the exact same process you would use to export as a PDF. The only difference is that in step three you will select the “CSV” file type instead of the PDF file type. All of the other steps are the same.

The benefit of exporting as a CSV instead of a PDF is that you can import and edit data that has been saved as a CSV file in applications such as Google Sheets, and Microsoft Excel.

Conclusion

Exporting invoices from QuickBooks is fairly easy, and once you get the hang of it, the entire process should only take you a couple of minutes to complete.

Whether you need to export an invoice template, or you just need to view your customer invoice data as a PDF, either way, if you follow the steps outlined above, you’ll be able to export customer invoices from QuickBooks in a variety of different file formats.

Recommendation

If you want to make your business accounting processes quicker and more efficient then consider using LiveFlow, the premier small business accounting tool on the market in 2022. LiveFlow features handy templates and time-saving tools, such as the new Live Budget vs Actuals tool.

Plus, you can explore all the great features of the platform for free with a 30-minute demo. So, if you want to eliminate the stress that comes with business bookkeeping, then be sure to try LiveFlow today.

Export Invoices from QuickBooks (Complete Guide)
Export invoices from QuickBoooks and analyze them with LiveFlow
Turbocharge QBO with LiveFlow
Cta Photo
The smartest finance pros know LiveFlow.
Save time and stress on your reporting!
Book a demo

Supercharge your financial reporting today

See LiveFlow in action and discover how to streamline your workflows.


Export Invoices from QuickBooks (Complete Guide)

October 24, 2022

Export Invoices from QuickBooks (Complete Guide)

If you are an accountant or bookkeeper, you may use QuickBooks as part of your work software to keep track of your clients and their expenses. The program makes it easy to import new customers, vendors, and invoices on a regular basis.

However, if you need to access those records at another time, such as when filling out tax forms for that client or for your own business, then you will need to export the data from QuickBooks instead.

In this article, we’ll go over everything you need to know and explain how to export invoices from QuickBooks to Excel.

Can you export invoices from QuickBooks?

Yes, you can export invoices from QuickBooks. You can export data from the entire company file, a single company file, or a list of selected customers and vendors. You can also export a list of selected transactions from your transaction list.

The only thing to keep in mind is that you cannot export financial information from your QuickBooks company file. You can, however, export non-financial information, such as customer records, vendors, and their respective invoices. You could also export a list of selected transactions from your QuickBooks transaction list.

How to export a list of invoices in QuickBooks Online?

There are a few different ways to export a list of invoices from QuickBooks online into other applications including Google Sheets and Microsoft Excel. The exact method you will use depends on which file format you want to export.

The most common file formats are Excel files, CSV files, and PDF files. That said, the process is more or less the same, the only difference is that you will select a different file type when exporting the invoices. Let’s go over the process now, so that you’ll be able to export invoices from QuickBooks whenever you need to.  

How to export an invoice template from QuickBooks to Excel

In order to export an invoice template from QuickBooks to Excel, you first need to create an invoice template in QuickBooks. This process is fairly quick and easy and once you’ve done it a couple of times it should only take you a couple of minutes to complete the task.

To create and export an invoice template in QuickBooks follow these steps:

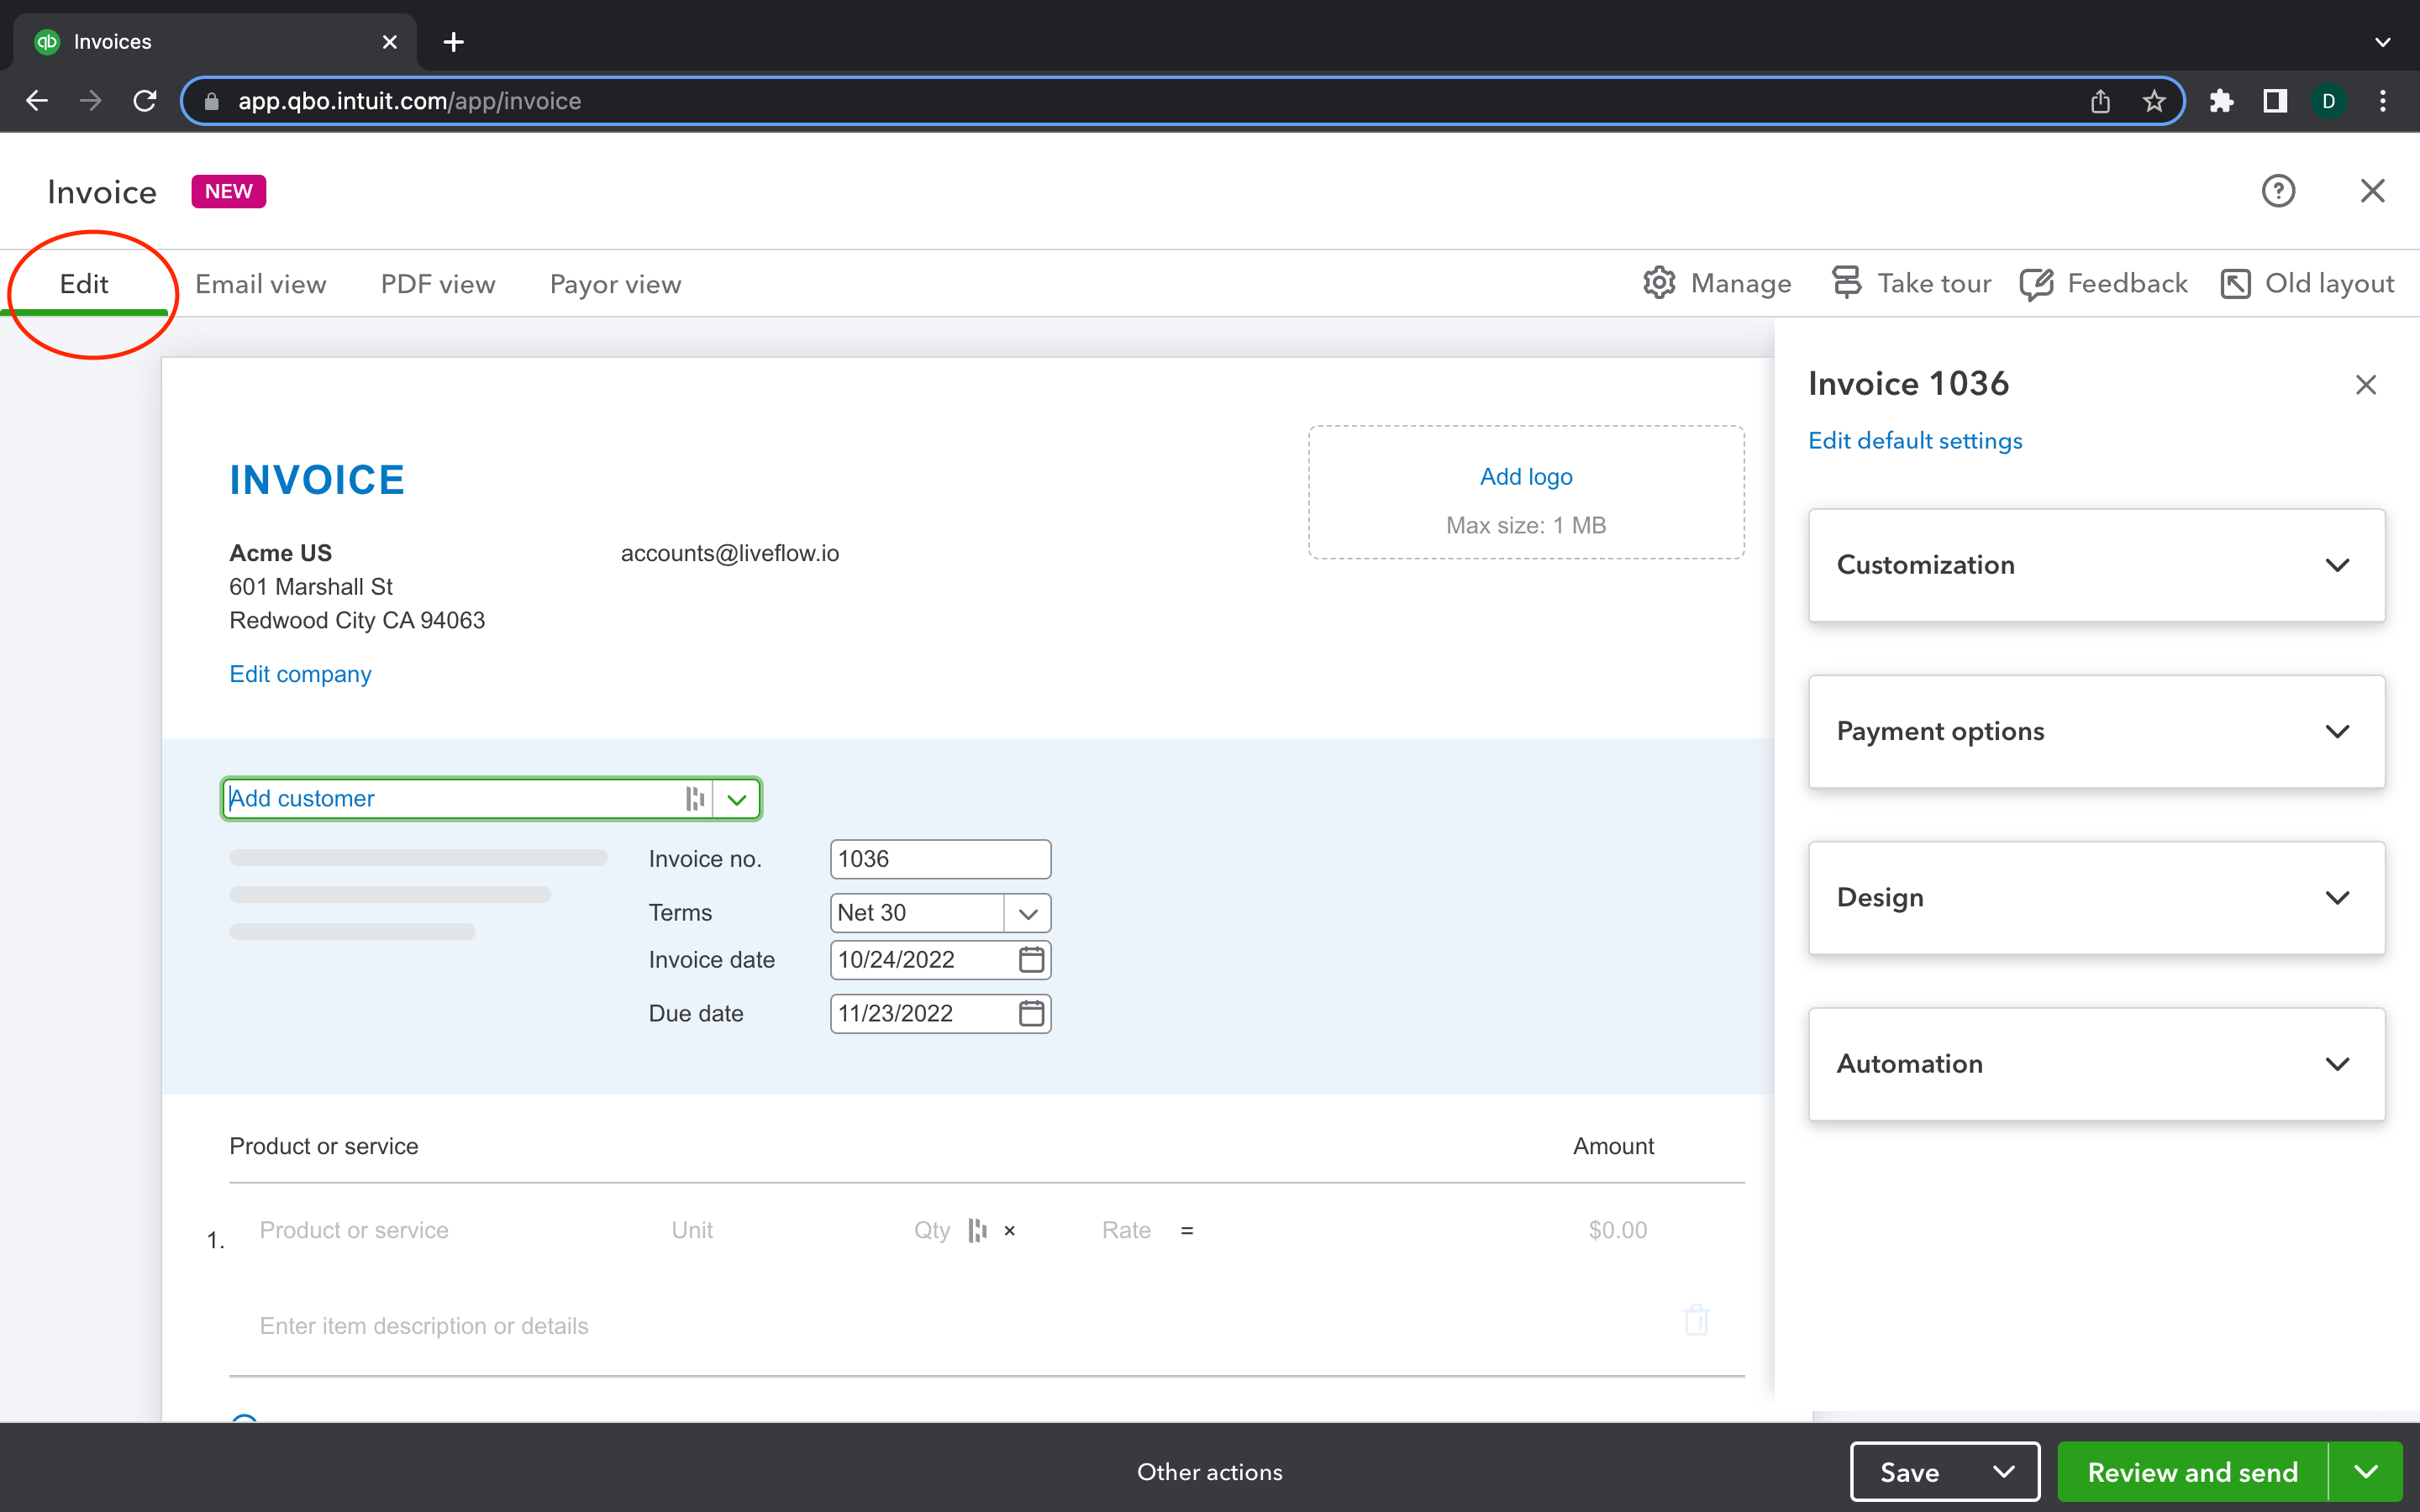
1. Open your QuickBooks company file and select the “Customers” tab.

2. Click the “New Customer” button on the upper-right side of your screen.

3. Fill out the necessary information for your new customer record.

4. Select the “Create an invoice” drop-down menu.

5. Select “Use a template

6. Select the “Save as a template” option.

7. Give your template a name and select “OK” to save the template and exit out of your invoice.

8. Now, to export the invoice template from QuickBooks to Excel, select the “Customers” tab, then click on the “Export” button located on the upper-right side of your screen.

9. Select the “Excel” option to export your invoice templates to Excel.

10. Select the “CSV” option to export your invoice templates as a CSV.

11. Click “Next” to proceed with exporting your data.

12. Select the “Customers” option from the drop-down menu.

13. Select the desired date range to export your data.

14. Click “Finish” when you are ready to export your data.

How to export an invoice from QuickBooks to PDF?

Sometimes you may want to export your data as a PDF file instead. This is a good option when you don’t need to edit the data again, and you only want to view customer invoices at a glance. Fortunately, the process for exporting invoices from QuickBooks to PDF is a bit easier.

To export an invoice from QuickBooks to PDF, follow these steps:

1. Open your QuickBooks company file and select the “Invoices” tab.

2. Select the “Export” button on the upper-right side of your screen.

3. Select the “PDF” option to export your invoices to PDF.

4. Click “Next” to proceed with exporting your records.

5. Select the “Invoices” option from the drop-down menu.

6. Select the “Customers” option from the drop-down menu.

7. Select the “Export” option from the drop-down menu.

8. Select the desired date range to export your records.

9. Click “Finish” when you are ready to export your records.
Export Invoices from QuickBooks

Export Invoices from QuickBooks

Export Invoices from QuickBooks (Complete Guide)

How to export QuickBooks invoice to CSV?

The process to export a QuickBooks invoice as a CSV file is the exact same process you would use to export as a PDF. The only difference is that in step three you will select the “CSV” file type instead of the PDF file type. All of the other steps are the same.

The benefit of exporting as a CSV instead of a PDF is that you can import and edit data that has been saved as a CSV file in applications such as Google Sheets, and Microsoft Excel.

Conclusion

Exporting invoices from QuickBooks is fairly easy, and once you get the hang of it, the entire process should only take you a couple of minutes to complete.

Whether you need to export an invoice template, or you just need to view your customer invoice data as a PDF, either way, if you follow the steps outlined above, you’ll be able to export customer invoices from QuickBooks in a variety of different file formats.

Recommendation

If you want to make your business accounting processes quicker and more efficient then consider using LiveFlow, the premier small business accounting tool on the market in 2022. LiveFlow features handy templates and time-saving tools, such as the new Live Budget vs Actuals tool.

Plus, you can explore all the great features of the platform for free with a 30-minute demo. So, if you want to eliminate the stress that comes with business bookkeeping, then be sure to try LiveFlow today.
Export Invoices from QuickBooks (Complete Guide)
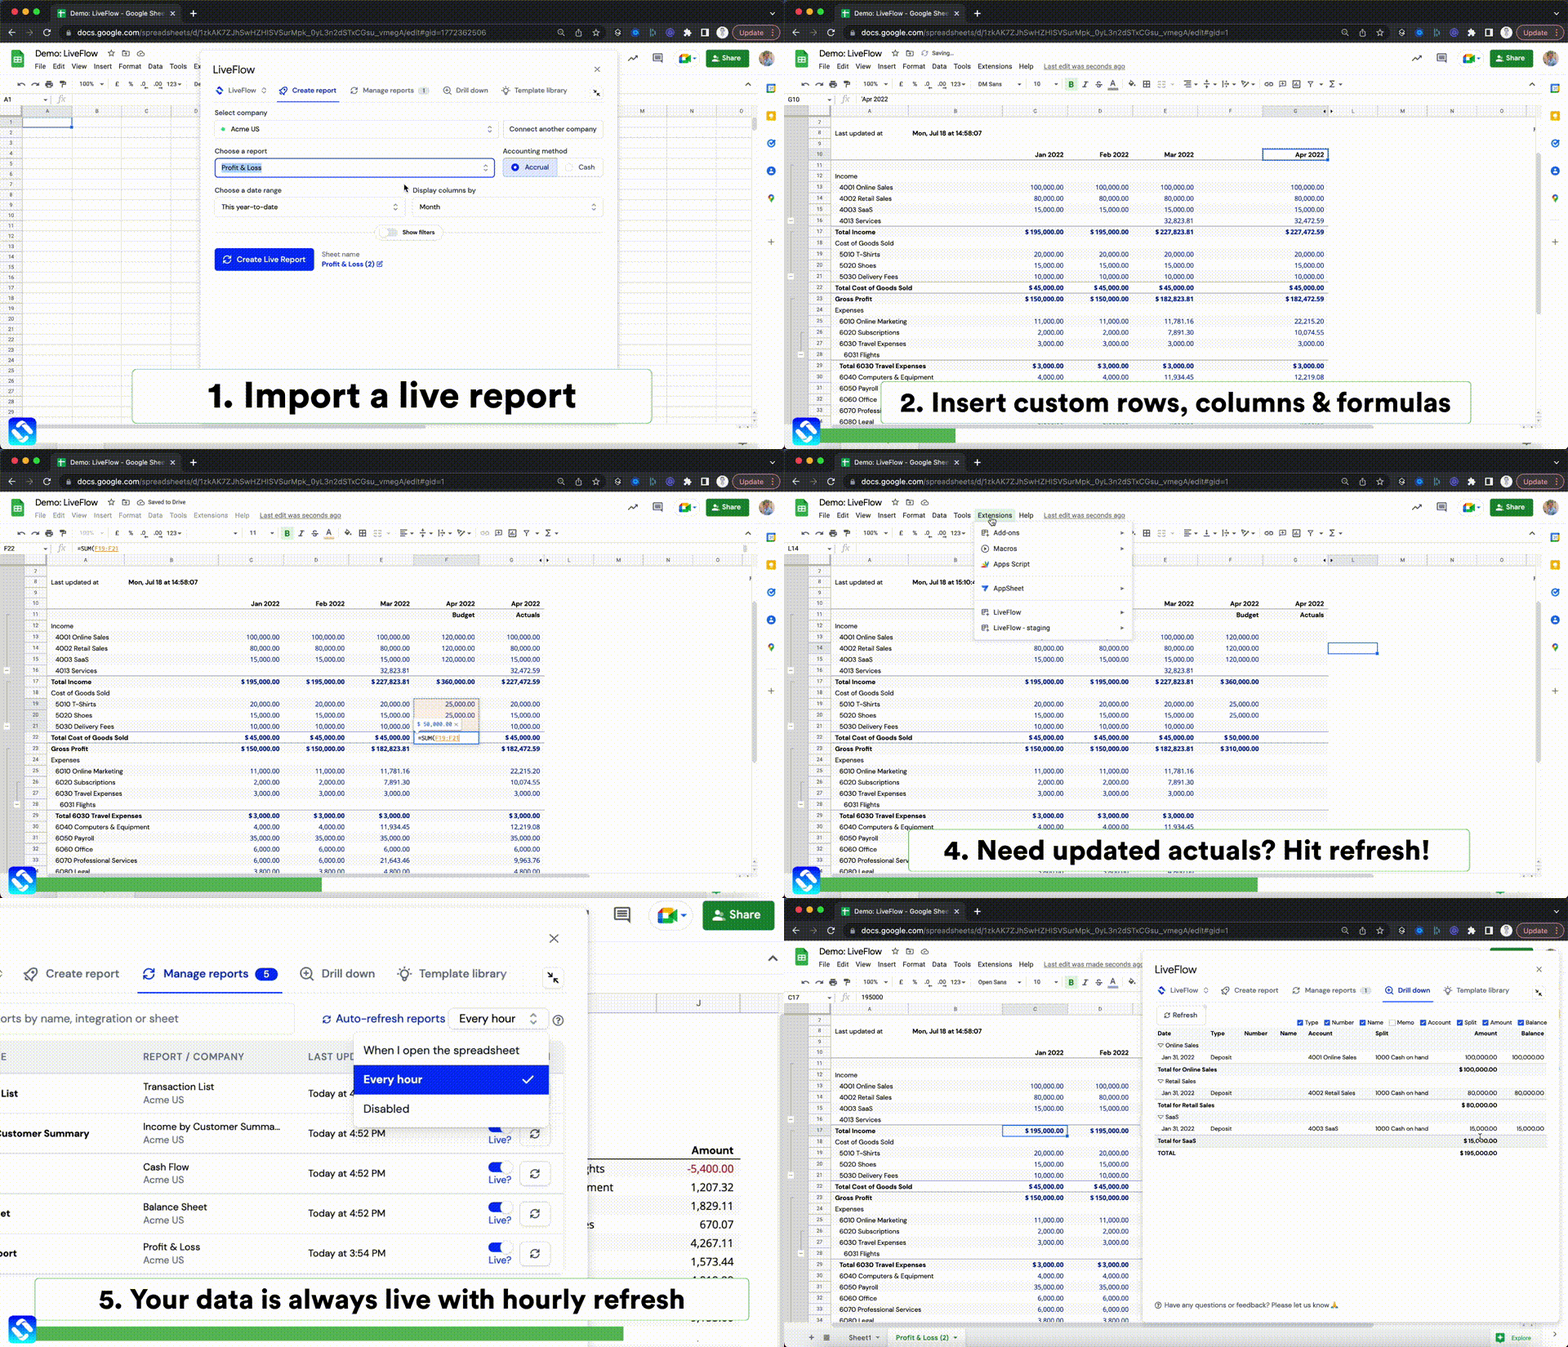
Export invoices from QuickBoooks and analyze them with LiveFlow
Turbocharge QBO with LiveFlow
Cta Photo
The smartest finance pros know LiveFlow.
Save time and stress on your reporting!
Book a demo

Set your financial reporting on autopilot. Goodbye manual work.

Eliminate manual data entry and create customized dashboards with live data.